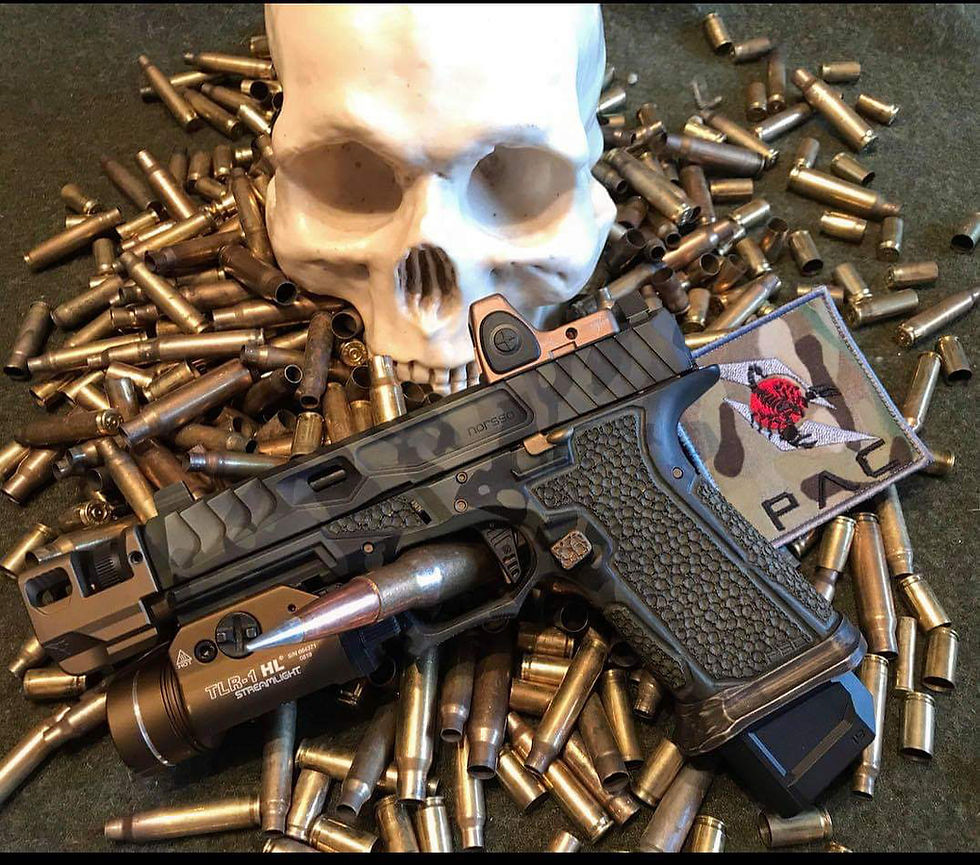
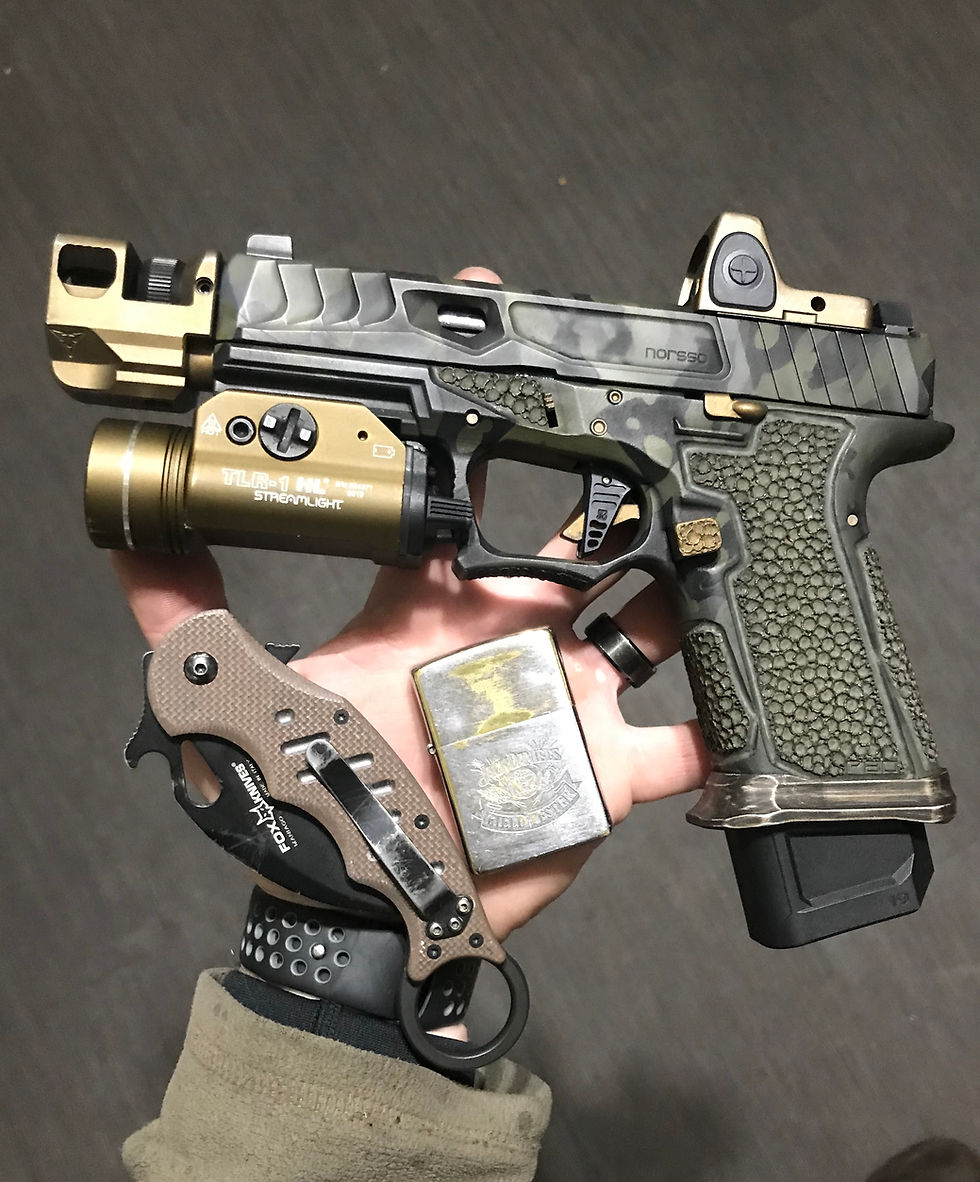
My First P80
- Jan 10, 2020
- 8 min read

I’ll start by prefacing my experience with firearms in general and what lead me to the decision of attempting a home build vs buying a manufactured pre-built pistol. I’ve always been a defender of life, liberty and the innocents. That’s just how I’m wired. Training in various mixed martial arts to gain skills applicable in instances where I may need to defend myself or others. Most my adult life, I never carried a firearm, until one day it clicked, like a light switch being flicked on. If I wasn’t within arms reach of an attacker, possibly armed with a firearm, how would I be able to defend myself? The scales just weren’t weighing in my favor every time I played out an instance with an armed attacker in my head. Too many variables, too many chances for an unarmed defender to slip up. From that moment on, I decided to buy a pistol and have carried one everyday for the past 2-1/2 years. Now, if faced with an armed attacker, it’s a level playing field. It’s level not only because I arm myself with the necessary tools, but because I train on a regular basis with those tools. I’ve shot somewhere in the ballpark of 25,000 rounds over the last couple years of training regularly. I know all my tools, inside and out. As my training has advanced, so have my tools, which brings me full circle to the purpose of my first P80 build. I wanted a pistol that I could rely on, train with in adverse conditions and I wanted it to be 100% tailored to me. I started looking around at platforms I could purchase, then have modified to fit me perfectly. Looked at S&W, Glock, FN and Springfield offerings as a base. Wasn’t too excited about what I was seeing. I had known about the P80 realm and remember thinking that would be the best route for customization, but wasn't confident in my abilities to produce a reliable tool. Though I am fairly adept in building things, as I'm a carpenter by trade, skilled in the use of multiple power & hand tools. I simply couldn't imagine being able to make with my own hands the level of quality I was expecting. Spoiler alert, boy was I wrong!
One day whilst I was researching, I stumbled across a video. A very charismatic bald man popped up on my screen and greeted me (the audience) as a 'Freedom Protector'. I smiled to myself, agreeing with his intro and watched as he worked on a home built P80. I found out Marine Gun Builder was the content creator of this well thought out video, so I watched some more of his videos. His 'First Time Quality' policy sure sounded a lot like the high expectations I was imagining I wouldn't be able to replicate from a manufacturer that was stamped with 'Brand-X'. Immediately after binge watching his entire playlist, I was filled with an exorbitant amount of excitement and set my sights to accomplish what I had previously thought to be impossible. I had decided I was going to produce a high quality pistol, tailored to my specific needs and wants.


Comments